How to Add Decisions
Decisions are what the Decision Journal is all about. Since it’s such a focal point of the app, we tried to make it extremely easy to add them.
To add a new decision to the app, on the Home screen, tap the button at the bottom of the screen “+ Add Decision”. This will pop up a new view with a couple fields of information to enter about the decision you are adding.
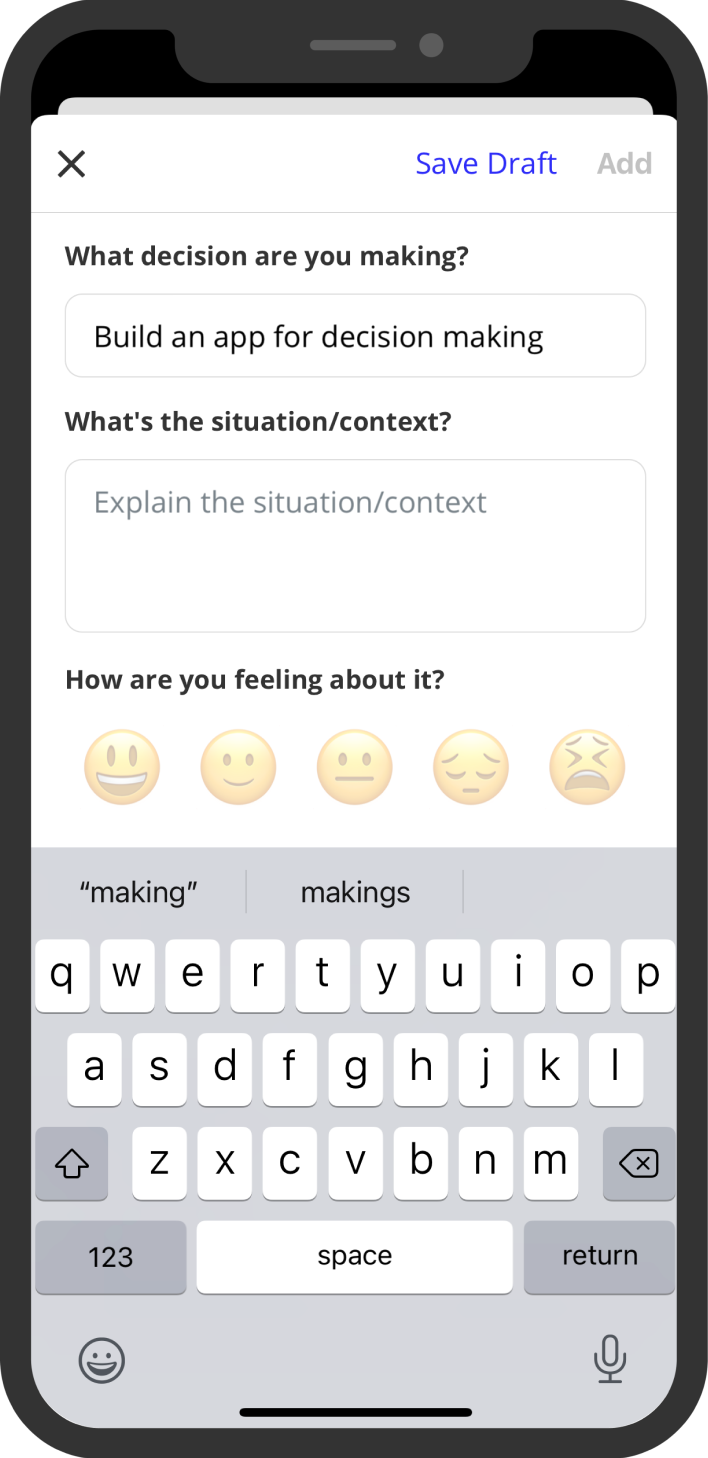
The Add Decision form collects the following information about a decision:
- The decision you’re making
- The situation or context of the decision
- How you feel about it
- The outcome(s) you expect
- When to review the decision
- Tags to categorize the decision
This information follows decision journal best practices (checkout our guide on best practices for more).
There are a couple of things to note when adding new decisions. The first is that at any point in filling out the form to add a decision, you can choose to save the decision as a draft and come back to it later. This will add it to the In Progress section on the Home screen, where you can find it at a later point to pick up where you left off. Tapping on a draft decision will show the add decision form again with all of the information you’ve already filled out pre-populated.
You can update and save a draft as many times as you’d like. In fact, we actually recommend that you use drafts frequently. They’re a great way to write down some quick thoughts and notes on a particular decision before you’ve actually made it. You can always go back later after the decision was made to clean it up and add it.
Another thing to note is that drafts can be deleted at any point but once you’ve added a decision, that decision cannot be deleted or edited. The reason for this is to help you stay honest and accurate and keep a record of note. Of course, if you have a strong need to delete something, feel free to reach out to our support team.
All decisions are required to have every field except for tags filled out. That’s why you won’t be able to add a decision until you have done so. Again, this is trying to encourage decision journal best practices. If you don’t have the time to fill out all the fields, just save it as a draft and come back to it later when you do.
Once you’ve added a decision, it will show up in the Scheduled for Review section on the Home screen. When your decision is then due for review, you’ll get a notification alerting you and the decision will move into the Due for Review section on the Home screen.
Now that you know how to add decisions, checkout our guide on reviewing them next.